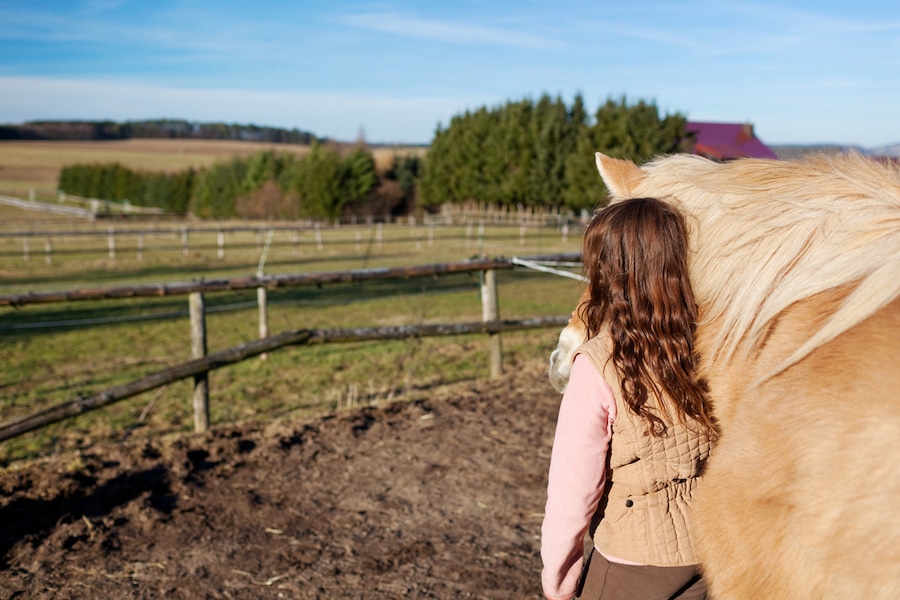
Horse pens are a valuable training tool for many equestrians, allowing for a smaller space to work with your horse when an arena is too large to fit your needs. Not only does it allow for better focus, but similarly allows easier guidance of your horse with tools best used in smaller spaces, such as lunge lines.
Many times training pens offer an opportunity to work with your horse, gain their trust, and give them an opportunity to learn new skills outside the saddle— resulting in increased rider safety.
Unfortunately, many pre-made pen kits are cost-prohibitive, leading riders to opt for the DIY route. In the article below, we will outline how to build a round pen for horses and the materials needed to build it for a fraction of the cost.
Materials
There are several materials needed to build a diy round pen for horses. Some of these materials go directly into the construction of your training space while others are needed to prepare the land and surface your pen.
- Posts
- Top Rails
- Ground stabilization (when necessary)
- Footing
- Metal gate
- Tiller and Post Hole Digger
- Rakes
Once you have assembled the materials necessary for your arena, to begin the construction, follow the steps below on how to build a round pen for horses..
Working Through Set-Up
- Deciding on a Pen Size
While there are a variety of pen sizes, the most common are those which are 50 to 60 feet in diameter. These sizes allow for the most training flexibility without being too large or unnecessarily restrictive. - Marking and Tilling
Once you decide on a diameter, you can begin preparing the ground for both riding and construction.
Here, mark off a circular space to give yourself a guide of where you will place your initial stakes. Once you mark a circle around your center point, till the land in the center to loosen the ground. - Add Footing
Most pens do not have the correct soil composition to promote safe riding. As such, additional footing additives are needed to prevent injuring your horse.
For soil that is soggy or difficult to work with, it’s recommended you use a geotextile under your arena surface. This helps with maintaining separation between lawyers while also providing extra ground stabilization.
For soil that is dry or rough, footing additives such as FoamFooting can help even out the terrain. Similarly, you can apply a dust control additive. - Securing Posts
Next, you will dig post holes and add posts. These should be dug at least 2-3 feet deep for stability.
Posts can be made of metal or treated wood, depending on your desired level of support. However, remember that the more rigid your material, the greater risk for injury should your horse fall into the wall by mistake.
A word of warning: always leave room for a gate. When building an arena it is easy to forget about your gate, meaning you will have to re-dig and re-measure the entire pen to accommodate for the mistake later. - Adding Your Gate and Top Rails
Going in a circle, begin attaching your rails around the arena. Once more these can be made out of a variety of materials from wood to vinyl, just keep in mind the various hazards that come with each individual material.
Once posts are fully installed, you can move to securing your gate, ensuring that the entire pen is securely placed in the ground and stable against potential bumps, nicks, and falls.
Maintaining Your Pen Over Time
As you use your pen, the materials will break in over time. This is especially true of your footing, which necessitates regular dragging, maintenance, and dust control. Having knowledgeable equestrians help you improve your arena over time ensures you are always training at optimal performance.
This is what we strive for at Performance Footing— a family business of knowledgeable individuals who are passionate and experienced in the equestrian industry.
Whether you are building a new pen or have an old one that needs work, don’t hesitate to reach out at (877) 835-0878.
